How to Choose the Best 3D Bioprinter for Your Lab?
Choosing a 3D bioprinter is less about buying the newest machine and more about matching its capabilities to your lab’s work. The right system should support the materials, cell types, and scaffold designs central to your experiments. It should also fit your space, staffing, budget, and cleaning routines. Small details matter. A nozzle that clogs during a long print, or a sterile workflow that is awkward to maintain, can disrupt a carefully planned study. Those issues may not appear in a product demonstration.
Before comparing models, define your intended applications. Extrusion, inkjet, and laser-assisted deposition each suit different bioinks and research needs. Check print resolution, temperature control, crosslinking options, build volume, and compatibility with sensitive cells. Ask vendors for performance data, service terms, training, and examples using materials similar to yours. Where possible, test a representative bioink and evaluate cell viability, shape fidelity, repeatability, and setup time. A specification sheet cannot answer every question. Some claims need independent verification, and published results may not transfer directly to your lab. That is easy to overlook. Even a sensible shortlist can prove wrong during hands-on testing. This guide outlines the practical questions that help researchers make a defensible choice in 3d bioprinting.
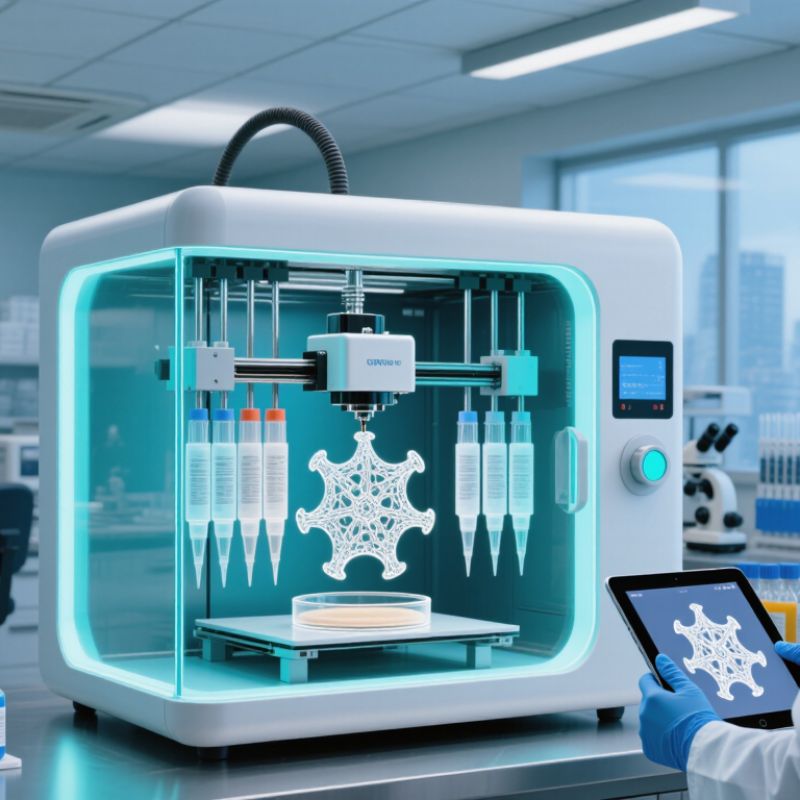
Define the lab’s use case, cell types, and required print volume (mm³)
Start with the biology, not the printer’s maximum build size. A lab making small vascularized tissue models has different needs from one producing large scaffolds for mechanical testing. List the intended construct, its purpose, and how many samples each experiment requires.
Then name the cell types and note their sensitivities, such as shear stress, temperature, and time outside controlled conditions. That detail matters.
Estimate the required print volume in cubic millimeters. For example, a
10 × 10 × 2 mm construct has an outer volume of 200 mm³;
several samples can quickly raise the total.
Allow for support materials, test runs, and usable—not just advertised—build space. A larger chamber is not automatically better. Check whether the printer can handle the intended bioink and cell loading while maintaining consistent deposition. If cells are fragile, a technically precise print may still produce poor viability.
There is no perfect estimate at the planning stage; pilot prints often reveal lost material, uneven layers, or unexpected handling delays. Record those results before setting the final capacity requirement.
Compare the 3 main methods: extrusion, inkjet, and laser-assisted bioprinting
Choosing a 3D bioprinter starts with the material and tissue you plan to print. Extrusion systems push bioink through a nozzle in continuous strands. They handle viscous gels and dense cell suspensions well, making them useful for thicker constructs. The trade-off is shear stress: pressure and narrow nozzles can affect cell viability. Lines may also look rougher than droplets. That matters.
Inkjet bioprinting deposits small droplets, much like a controlled spray of liquid. It can print quickly and place cells with fine spacing, but it usually needs low-viscosity bioinks. Thick gels may clog the nozzle or fail to form consistent droplets. Check whether the printer controls droplet size reliably with your chosen formulation, not just a water-like test fluid. Small details can shift.
Laser-assisted systems transfer droplets without a dispensing nozzle. They can offer precise placement and work with a broader range of viscosities, but setup and maintenance are often more demanding. Laser exposure and heating should be evaluated for each cell type and printing condition. Compare methods using practical tests: printability, cell viability after printing, feature fidelity, and repeatability across runs. There is no universal winner; the best fit may still require compromises.
Measure resolution (µm), print speed, build volume, and bioink compatibility
Choosing a 3D bioprinter starts with the tissue you plan to make, not the smallest number on a specification sheet.
Mandrycky et al. (2016, Biotechnology Advances) report that achievable resolution varies by method, with extrusion commonly around 100–500 µm and inkjet printing around 20–100 µm. Treat these as approximate ranges, not guarantees. A 150 µm nozzle may still produce a wider strand when a soft bioink spreads on the platform. Test a simple grid, then measure strand width under a microscope.
Speed needs a practical definition.
Record printhead travel in mm/s, total print time, and cell viability after printing; faster extrusion can increase shear stress. Murphy and Atala’s 2014 Nature Biotechnology review describes how printing methods trade precision against material and process constraints.
Check usable build volume with the full scaffold dimensions, including room for a brim or support structure. Then test each intended bioink: note viscosity, crosslinking method, nozzle size, and whether cells remain evenly distributed.
Specifics matter.
A printer that handles one gel beautifully may clog with another. I would not trust a single demo print; repeat the test, because real lab results can be annoyingly inconsistent.
Assess cell viability protocols and relevant ISO 10993 biocompatibility standards
When comparing 3D bioprinters, ask how each system supports repeatable cell viability testing. A useful protocol checks cells immediately after printing and again after recovery, such as at 24 and 72 hours. Use live/dead staining or a metabolic assay, and include unprinted cells as a baseline. Keep cell density, bioink batch, temperature, nozzle size, and printing speed consistent. Small changes can alter results.
Look beyond a single percentage. Image printed strands at several locations, including edges where drying or uneven extrusion may affect cells. Record replicate numbers, handling steps, and any failed prints. A neat image is not proof of healthy cells. That distinction matters. Assays can also disagree, so investigate unexpected results rather than choosing the more favorable number.
ISO 10993 can help frame biological evaluation, but it does not certify a bioprinter or automatically validate a printed construct. ISO 10993-1 describes a risk-based approach; ISO 10993-5 addresses in vitro cytotoxicity, while ISO 10993-12 covers sample preparation. Their relevance depends on intended use, contact, materials, and exposure. Ask whether testing considers the complete printed workflow, including bioink ingredients, sterilization, and process residues. A protocol may look rigorous on paper and still miss a handling step your lab performs every day.
Compare software, service, and total cost of ownership over 5 years
When comparing 3D bioprinters, test the software with a real lab workflow, not a polished demonstration. Can staff import a design, adjust print paths, and record settings without rebuilding files? Check whether licenses, updates, and data exports cost extra. A clear interface matters, but so does a useful history of each print. Small errors become hard to trace later.
Service affects both uptime and staff workload. Ask how quickly a technician can respond, whether remote troubleshooting is available, and which parts must stay on site. Review training for new operators and the process for software updates. A low purchase price may feel less attractive if a clogged printhead stops experiments for several days. It happens.
Build a five-year ownership estimate that includes purchase price, installation, consumables, software fees, maintenance, and expected downtime. For example, compare annual service costs with the value of experiments delayed during repairs. Include staff time for cleaning, calibration, and training; these hours rarely appear on a quote. Use the same assumptions for every system, and label uncertain figures. The spreadsheet may still miss something, so revisit it with technicians who will run the printer each week.